


You will need to enter the email addresses of the SLP-As that you are send the scheduling tool to by clicking the "To" line. Then click the "Subject" line to enter a subject that includes the observation period (i.e. Scheduling tool for observation period 5/15/17 - 5/26/17).


Clicking the array will open a drop-down menu with Google application. To access the scheduling tool you will need to click the "Drive" icon.
Back to Tutorial Home Page
2
Supervisor Scheduling Tool Walkthrough
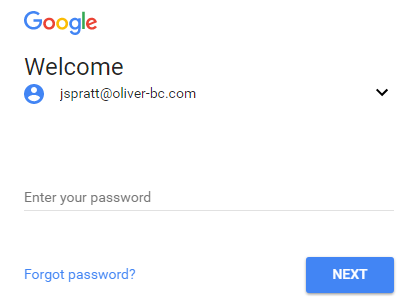
The first steps in editing and sending out the scheduling tool is to log into your Google Drive at:
Enter your email and click "NEXT"
3
When you have entered your email address, next enter your password and click "NEXT"
4
You will be directed to the Google welcome page and have access to all the Google applications. To access the scheduling tool you will need to go to Google Drive by clicking the 9 square array in the top right corner of the screen.
5
6
In your Drive you will see many files. The scheduling tool is a "Google Form" - which is a purple icon - and will be named "[Your Name] SLP-A". This file will need to be shared with you by your director, if you don't see the file contact your director. Click it to open the file to start editing the tool or access information.
7
With the scheduling tool open you will be able to edit the form sent out to your SLP-As and to access the data shared by the SLP-As. To edit the form click the "QUESTIONS" tab.
8
9
You may need to add or remove names of your SLP-As from the "Name" drop-down menu. Click the "Name" question to edit it, the left broader will turn blue when it is ready to edit. To delete a name click the "X" on the right, and to add a new name click "add option", at the bottom of the list, and type in the new name.
10
11

Now you are ready to send out the updated form to your SLP-As, first click the "SEND" button near the top right corner of the screen.

Check the box that says "Include form in email", and click the "SEND" button and the scheduling tool will be sent to the email addresses you entered. *Note: Nothing is needed in the for the "Message" field because information and instructions are embedded in the form.
1
In order to use the scheduling tool you must first set up an account with Google, if you don't have a Google account follow the link to the right to a walkthrough for setting up an account with Google. If you do have a Google account skip to step 2.
Whenever your SLP-As fill out a form the data they enter will be saved to a Google spreadsheet, but you must tell Google to create the spreadsheet before you can view it to schedule observations. To see the shared data will need to click the "RESPONSES" tab at the very top of the form.
12
Clicking the responses tab will give you an overview of the responses you have gotten from the scheduling form you sent out. To create the spreadsheet with all the detailed responses you will need to click the green Google spreadsheet icon, near the top right corner.
13
14

A spreadsheet with the data from your SLP-As will be created and opened. Each question from the form will be shown in the column headings on the
spreadsheet, and each row will have the responses from the SLP-A who fill out the form. Information shared here is the requests SLP-As have made for observations. You can use the data shared here to schedule your time accordingly.
15
The spreadsheet with SLP-As' responses can also be accessed directly from Google Drive, after the first time you access it for the scheduling tool. Look for a green spreadsheet icon in drive with a name that corresponds to the scheduling tool form.
Don't have a Google account linked to your Oliver BC email?
Back to Tutorial Home Page
